Create your AI Assistant
Follow these steps to set up your AI assistant and start automating customer conversations.

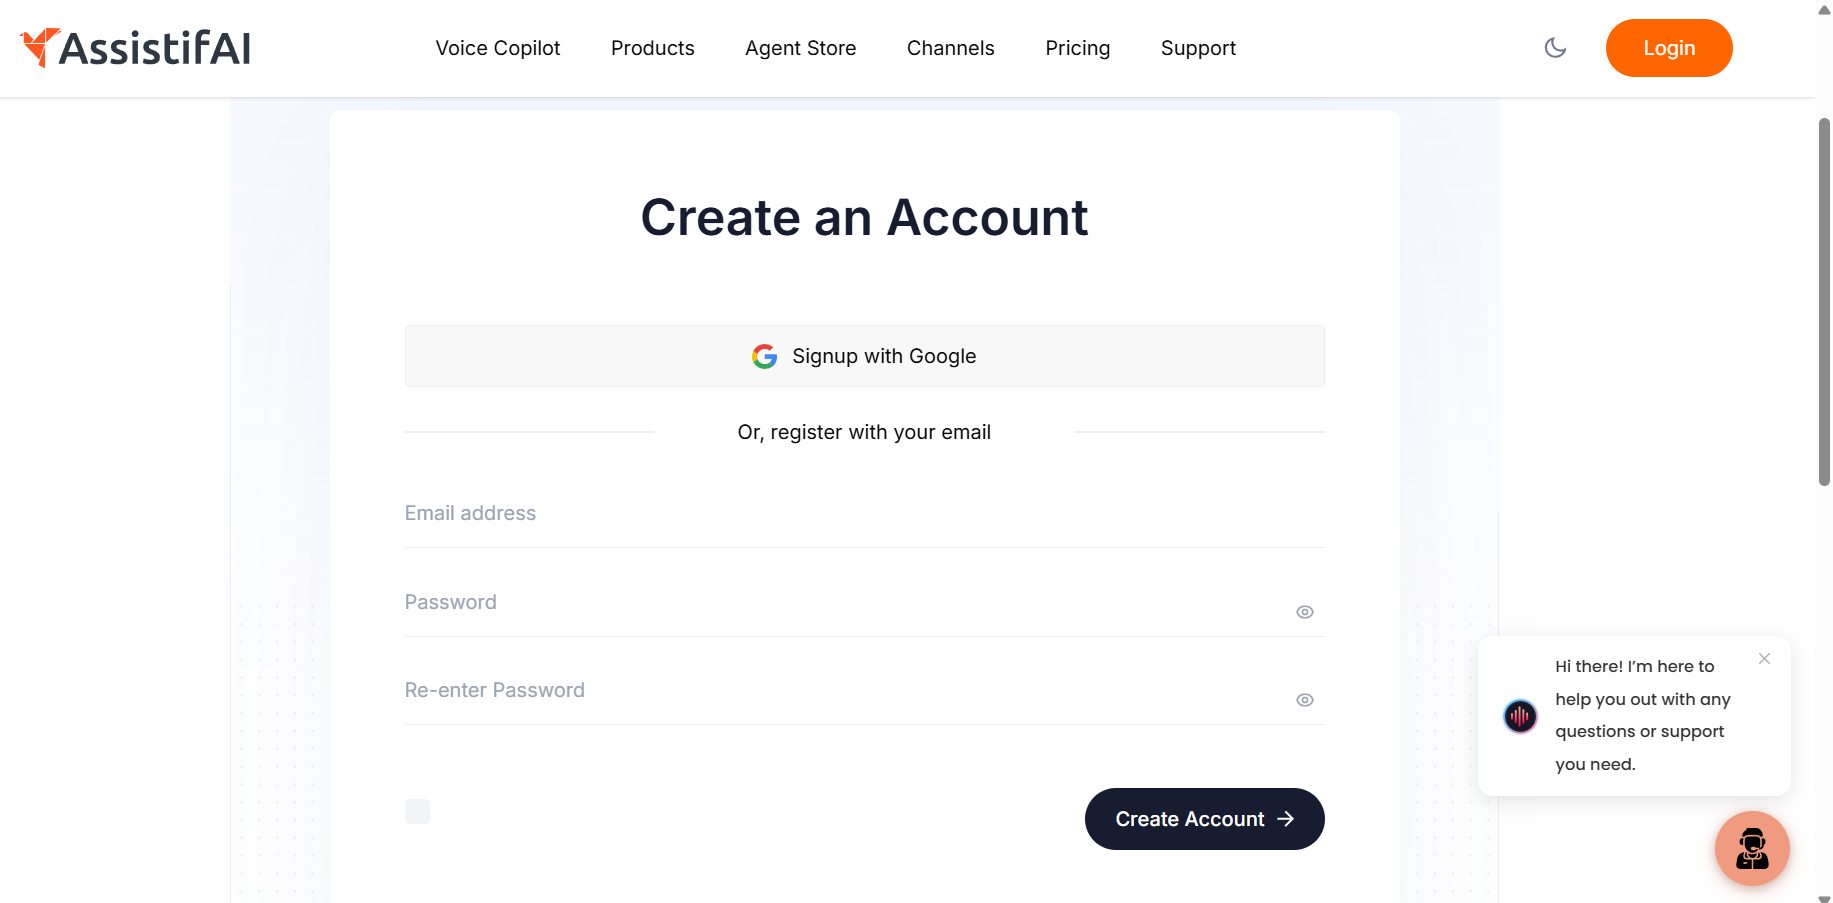
1. Sign Up and Create Your Assistant
Create your account on AssistifAI and start setting up your AI assistant.
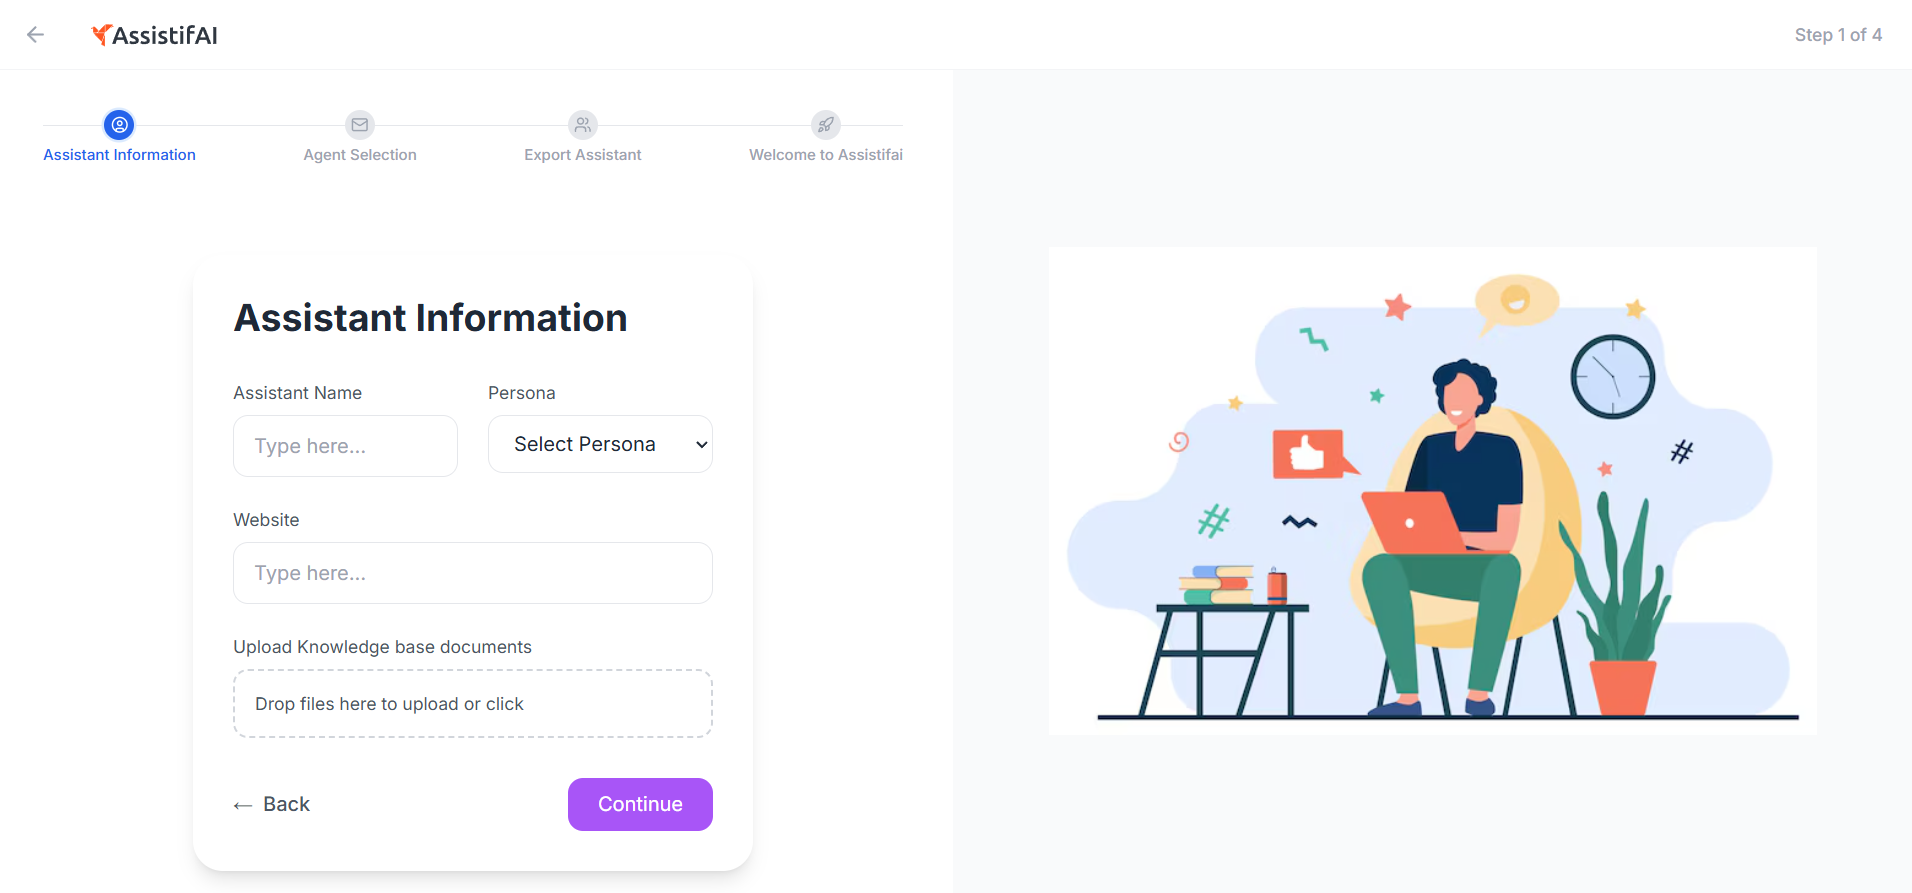
2. Add Assistant Information
Define the basic details of your assistant so it understands your business and communication style.
- Assistant name
- Persona and tone of conversation
- Business or website name
This helps the assistant represent your brand correctly when interacting with customers.
3. Train Your Knowledge Base
Provide the information your assistant needs to answer customer questions.
You can train it using:
- Website content
- Documents and files
- FAQs and Q&A pairs
- Product or service information
This allows the assistant to give accurate and relevant responses.

4. Select AI Agents from the Agent Pool
AssistifAI allows you to activate different specialized agents depending on your business needs.
Available agents include:
- Appointment booking agent
- Email query agent
- Web search agent
- Spreadsheet or business data query agent
These agents help automate different types of customer requests and tasks.

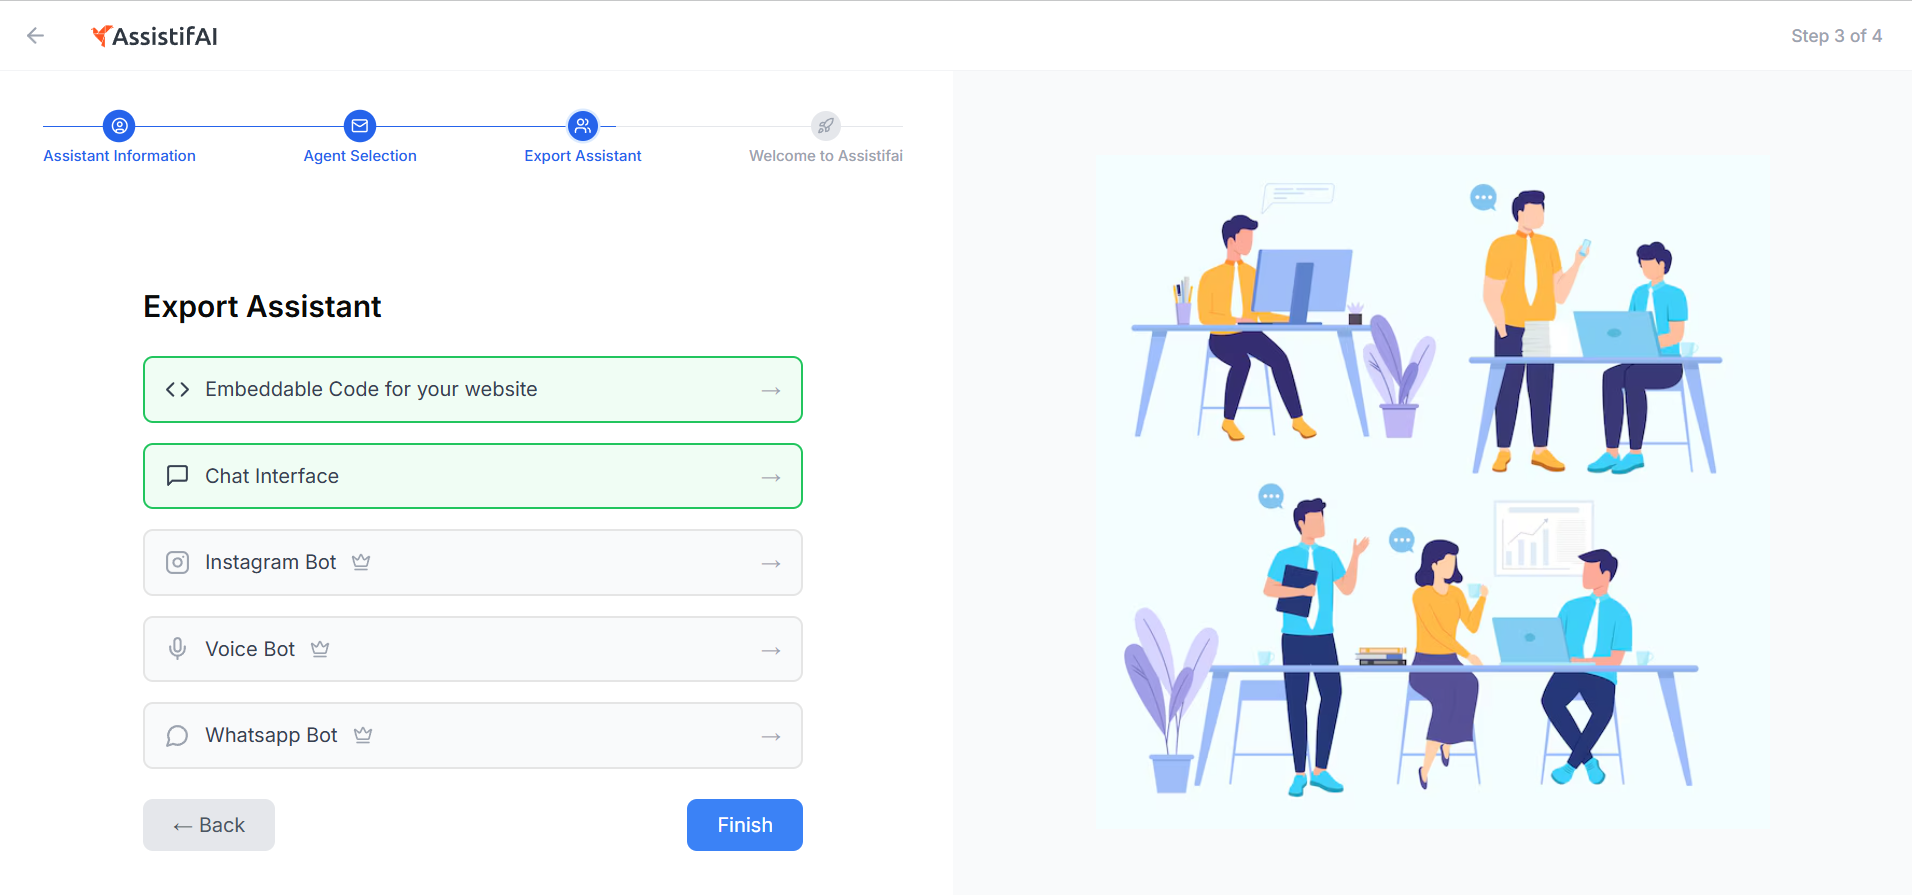
5. Configure Integrations and Channels
Deploy your assistant across the platforms where your customers interact with your business.
AssistifAI supports:
- Website chat interface
- WhatsApp conversations
- Voice and telephony interactions
- Instagram messaging
- Embedded chat widgets
You can export the embed code and add the assistant directly to your website or platform.
6. Go Live
Once your assistant is trained and configured, publish it and start handling customer conversations automatically.
Your AI assistant will now be ready to answer questions, capture leads, and assist customers across multiple channels.